Most students sit down to write a research paper with a topic in mind and a blank document in front of them. And that is exactly where things go wrong.
Without a process, research papers turn into a mess of loosely connected information, vague arguments, and last-minute panic. In fact, such an approach results in a paper that reads like a summary of everything you found rather than an original, well-argued piece of academic work.
But here is the thing:
Writing a research paper is not a talent; it is a process.
And once you understand that, the whole thing becomes far less intimidating. So, in this blog post, we will walk through every single step—from choosing your topic to submitting a polished final draft with real examples throughout.
Now, let’s get into it.
Step 1: Understand What a Research Paper Actually Is
A research paper is not a summary of what other people have written. It is an evidence-based, structured argument that presents your analysis of a topic using credible sources to support your claims.
But here is the twist:
A research paper has different types.
And here are a few of the most common ones:
- Analytical papers break down a topic and evaluate it from multiple angles without necessarily taking a strong personal stance.
- Argumentative papers take a clear position and use evidence to defend it.
- Expository papers explain a topic in depth and present what is known without arguing for a particular viewpoint.
So, know which type of research paper you are writing because it will shape every decision that follows.
For example, let’s say that your prompt says something like this:
“Analyze the impact of social media on teenage mental health.”
In such a situation, your research paper will be analytical. But suppose that the requirement says something like this:
“Argue whether social media should be regulated for users under 18.”
In such a situation, your research paper will be argumentative.
So, read your assignment prompt carefully before anything else. And if you’ve done that, then let’s move on!
Step 2: Choose and Narrow Down Your Topic
If you have been given a broad subject area, then your first task should be to narrow it down to something specific enough to be argued well within your page limit.
For instance, a topic like ‘climate change’ is impossibly wide. However, ‘the effectiveness of carbon offset programs in reducing corporate emissions’ is workable. So, here is a simple way to narrow down your topic:
- Start broad
- Then ask ‘what specifically?’ until you land on something focused.
Here is an example to help you better explain the difference between a broad, a narrower, and a focused topic:

As you can see, the final version is specific enough to research, argue, and cover thoroughly in a standard paper. So, that’s how your topic should be. But before committing, also confirm that there are at least 8–10 credible sources available on the topic. If you cannot find them, then adjust the angle slightly.
Step 3: Do Preliminary Research
Before writing a thesis or outline, spend some time generally reading about your topic. However, this is not your deep research phase; it is actually the orientation stage because the goal here is to understand the following:
- Main debates
- Where researchers disagree
- Where the interesting questions live
Therefore, good starting points at this stage are as follows:
- Encyclopaedia Britannica for broad background context (not citable, but useful for orientation)
- Google Scholar for academic articles
- JSTOR for peer-reviewed journals
- PubMed for biology and medicine
- Your university library database—the most powerful tool most students underuse
So, explore these sources. But remember that during this phase, you need to:
- Read introductions
- Skim abstracts
and
- Scan conclusions
That’s because you want to build a mental map here, not start writing your bibliography yet.
Step 4: Develop a Strong Thesis Statement
Your thesis statement is the single most important sentence in your paper. That’s because it tells readers exactly what you are arguing and why it matters. And everything else exists to support it.
But here is the interesting part:
A weak thesis is obvious and vague. However, a strong thesis is arguable, evidence-supported, and specific.
So, in light of this statement, here are a weak and a strong example of a thesis statement:
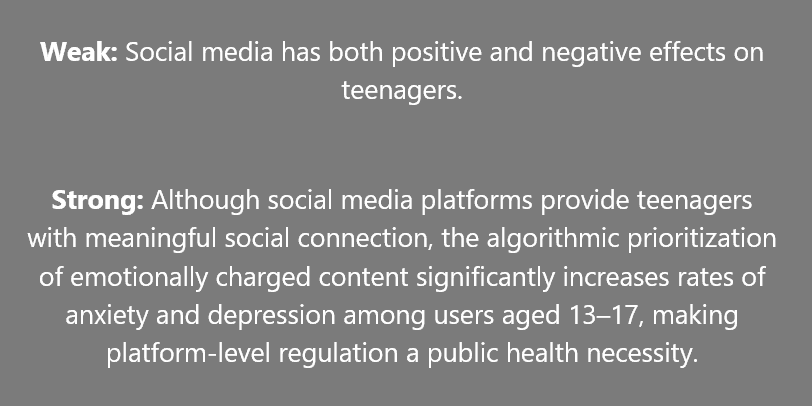
The first version is weak because no one would argue against it, and there is nothing to defend. But the strong version narrows the focus, signals the direction of the argument, and takes a clear position. And that’s how your thesis statement should be.
But just to make sure that you craft a thesis statement like the strong one we’ve created above, use the following self-check:
Ask yourself, “Could someone reasonably disagree with this?”
If the answer is no, then the thesis statement is too safe. And in such a situation, you should sharpen it until it has a real edge.
Step 5: Gather and Organize Your Sources
Now that you have a working thesis statement, you know exactly what you are looking for. So, go deep on your research and focus on sources that support your argument and sources that present counterarguments.
But why?
Well, both are valuable.
So, for evaluating sources, use the CRAAP test as a quick filter. Here’s what that test indicates:
- C stands for Currency: Is it recent enough for your field?
- R stands for Relevance: Does it speak to your specific thesis?
- A stands for Authority: Who wrote it? Is it peer-reviewed?
- A stands for Accuracy: Are claims backed by data?
- P stands for Purpose: Is it informational or agenda-driven?
And as far as taking notes is concerned, do it strategically. For instance, for each source, note the:
- Main argument
- Specific data or quotes you might use
- Your own analysis or reaction
and
- Full citation details
To do that, you can use a simple spreadsheet because this kind of organized note-taking makes your outline—and your writing—dramatically easier. Here is an example to help you better understand all of this:

Step 6: Write Your Outline
A research paper without an outline is a paper that writes itself into a corner. So, never start without creating an outline.
Here is an example of how a standard structure of a research paper actually looks:
- Introduction
- Literature Review (in longer or graduate-level papers)
- Methodology (in empirical papers)
- Body / Analysis
- Conclusion
- References
Now, for most undergraduate papers, this structure gets simplified to the following sections:

Introduction → Body Sections → Conclusion → References
However, the outline does not need to be final at this stage. Instead, you should treat it as a living document, which means you will have to adjust the outline as you write.
Just to give you a clear idea of how every section of a research paper should look, take a look at the following picture:
Step 7: Write the First Draft
The most important thing to understand about first drafts is that they are not supposed to be good; their only job is to exist.
But many writers get stuck at this stage because they try to write a polished final draft on the first pass. However, the reality is that perfectionism at the drafting stage is the single biggest killer of research papers. So, your goal here should be to get your ideas down in full sentences and paragraphs, even if they are rough.
Writing the Introduction
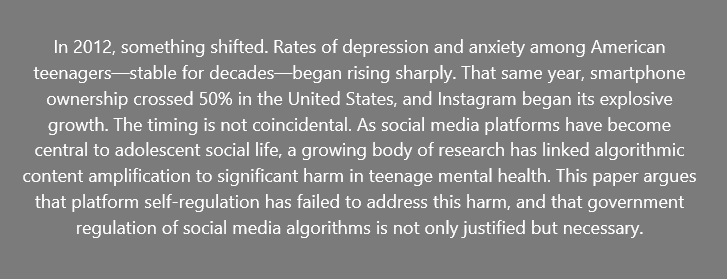
Your introduction should hook the reader, provide context, and close with your thesis. For instance, a good hook is usually a concrete scenario, a provocative question, or a striking statistic that illustrates the stakes.
Here is an example of such an introduction:
Writing Body Paragraphs
Each body paragraph should follow this movement:
- Topic sentence, which states the paragraph’s point.
- Evidence, which could be a fact, statistic, or quotation from a credible source.
- Analysis of your explanation of what it means.
- Transition of how it connects to the next paragraph.
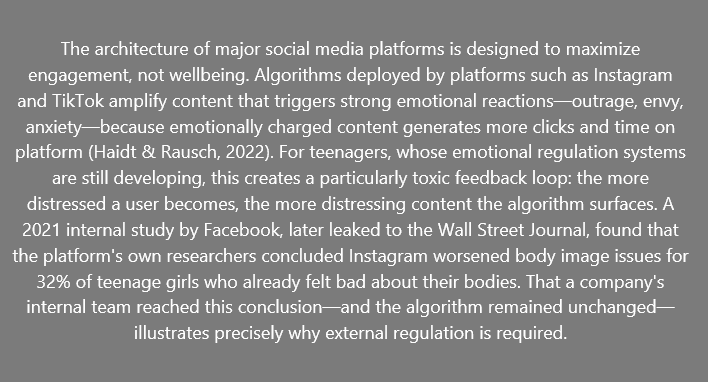
And in light of that, here is an example body paragraph:
Handling Quotations
Never let a quotation do the analytical work for you. Instead, you should always follow a direct quote with your own interpretation of what it means in context.
Sounds confusing? Well, here are a weak and a strong example to help you better understand this point:
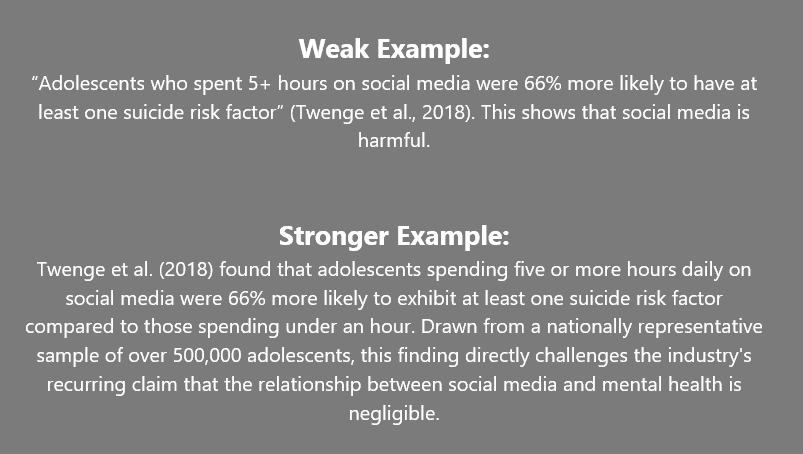
Step 8: Address Counterarguments
When writing a research paper, do not skip the opposing side. In fact, acknowledge and respond to opposing viewpoints, as doing so will strengthen your paper. That’s because it shows you have thought critically rather than cherry-picked evidence.
Take a look at the following example to better understand this:
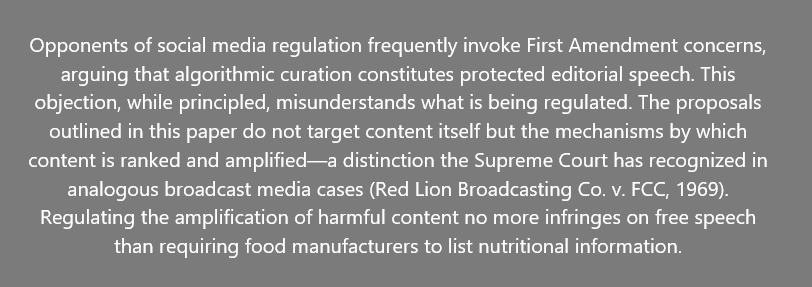
Step 9: Write the Conclusion
The conclusion in a research paper should do three things:
- Restate your thesis in fresh language.
- Summarize the main points.
- End with a broader implication.
This means that when writing a conclusion, you can’t and shouldn’t introduce new arguments or evidence.
Got it? If not, then take a look at the following example to better understand this:
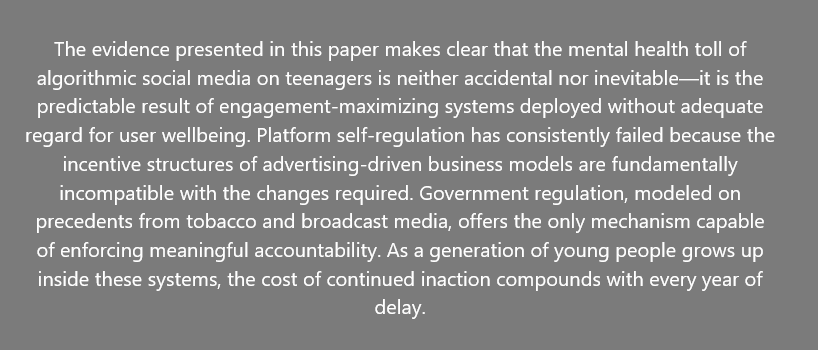
Step 10: Format Your Citations Correctly
Every discipline has a preferred citation style. For instance,
- APA is useful in education, psychology, and social sciences.
- Chicago / Turabian is appropriate for the arts and history fields.
- IEEE is useful in the computer science and engineering fields.
- MLA is suitable for the humanities and literature.
So, confirm which one applies to your use case before you start.
Here is an example that showcases how the same source looks across the aforementioned four styles:
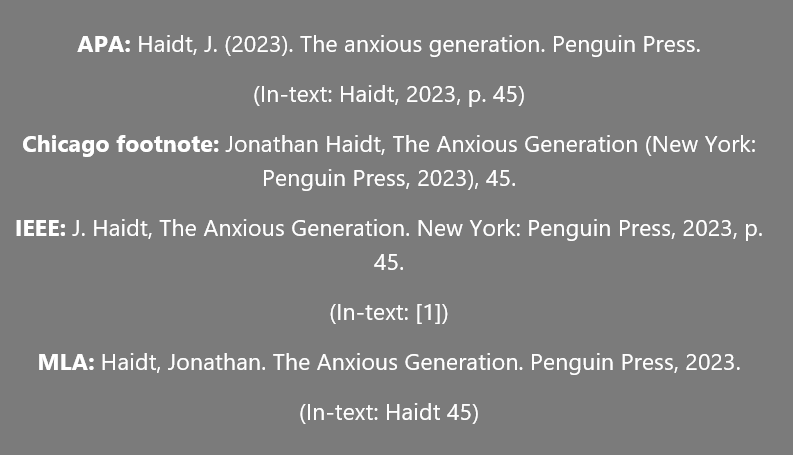
Now, when it comes to formatting your citations, you can use a free citation manager like Mendeley or Zotero to organize sources and auto-generate citations. However, one non-negotiable rule is that:
Every source cited in the body must appear in the reference list, and every source in the reference list must be cited in the body.
So, make sure to keep that in mind!
Step 11: Revise, Edit, and Proofread
A research paper is not finished when the first draft is done. So, revise in layers rather than trying to fix everything at once.
Here’s an explanation of what each layer includes:
Layer 1 — Big-Picture
Does every section connect to the thesis? Is the argument logical and sequential?
If the answer to either or one of these questions is ‘no,’ then cut anything that does not serve the central claim.
Layer 2 — Paragraph-Level
Does each paragraph have a clear topic sentence? Is the evidence specific? Is the analysis fully developed, or does the paragraph just present evidence and stop?
Layer 3 — Sentence-Level
Fix passive voice, vague language, and wordiness. For instance, phrases like ‘Due to the fact that’ will be replaced with ‘because’ and ‘it was found that’ will be replaced with ‘Researchers found that.’
Layer 4 — Proofreading
Read your paper aloud here. And doing so will help your ear catch errors your eyes may have skipped.
Also, choose the best plagiarism checker to verify originality before submission, not because you have plagiarized intentionally, but because accidental similarity can occur after deep immersion in sources.
Common Mistakes to Avoid When Writing a Research Paper
Now that you know how to write a research paper, here are some pitfalls that most commonly derail research paper writers:
1) A Vague Thesis
‘This paper will discuss the effects of social media on teenagers’ is a topic, not a thesis. A thesis makes a specific, arguable claim.
2) Ignoring Counterarguments
Readers know the other side exists. So, acknowledge it, address it, and explain why your argument holds despite it.
3) Over-Quoting
Your analysis is the point. So, use direct quotes only when exact wording matters. Otherwise, paraphrase everything else.
4) Using Wikipedia as a Source
Wikipedia is fine for orientation, but not citable. So, use it to find real sources via its footnotes, then go read those.
5) Writing the Introduction First
Write your body sections first, then come back to the introduction. You will write a far better one once you know exactly what the paper argues.
Concluding Remarks
To sum up, writing a research paper is not a mysterious art. It is a process with clear stages, and each stage feeds into the next. So, narrow your topic, build a strong thesis, and research strategically. Also, don’t forget to create an outline before you write. And when it comes to creating the first draft, do it without worrying about perfection. When the drafting is finalized, revise your research paper in layers. Make sure to format carefully and proofread before you submit. Do all of that, and you will not just turn in a paper; you will submit one you are actually proud of.
Frequently Asked Questions
Can I use the first person in a research paper?
Well, it depends on the discipline and style. For instance, APA actively encourages it for clarity. But hard sciences generally prefer impersonal constructions. And if you’re ever in doubt, check your assignment’s prompt or ask your instructor.
How long should a research paper be?
Follow whatever your assignment specifies. As a rough guide, undergraduate papers typically run 8–15 pages, and graduate work goes well beyond that.
How many sources do I need?
Always prefer quality over quantity. From a rough estimate, you need 8–12 sources for a 10-page paper. Also, keep in mind that five strong peer-reviewed studies beat twenty loosely relevant ones.
What if I cannot find enough sources?
Broaden your search terms, try adjacent topics, or speak to a reference librarian—they are genuinely skilled at this and underused by most students. You may also need to slightly reframe your topic angle, just like we’ve told you to do so above.
WordlyCove is a peaceful space where words, writing, and knowledge come together, an ideal platform for writers and learners.